Solari Dator 5
Restoration of an electromechanical flip clock with perpetual calendar.
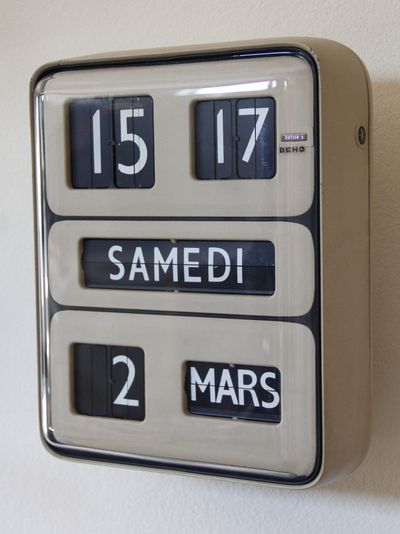
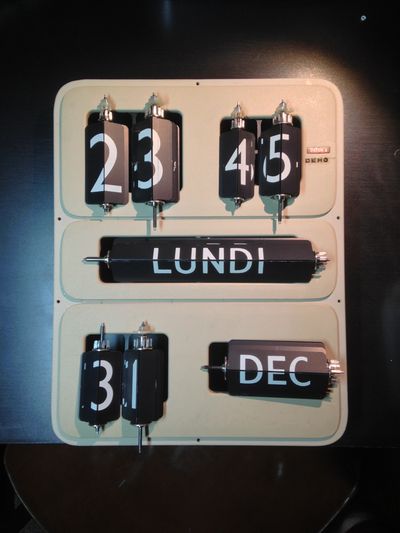
The Dator 5, produced in the 1960s and ’70s by Solari of Udine, Italy, is an electromechanical flip clock with a perpetual calendar, which compensates for short months and leap years.
I’d wanted one for years, and finally acquire this inexpensive, neglected example from eBay France in early 2013. It hadn’t run for at least a decade and had gotten wet at some point, so many of the steel parts had begun to rust and would need restoration, if not outright replacement.
This particular model is an impulse clock that would have been part of a public clock system in its past life, driven by a master clock. As such, it can’t keep time on its own, so I’ll add a modern quartz impulser to drive it.
Restoration
The clock arrived from Muret, France, a little more worse for wear than it looked in the pictures. Riley the cat felt I was over my head.
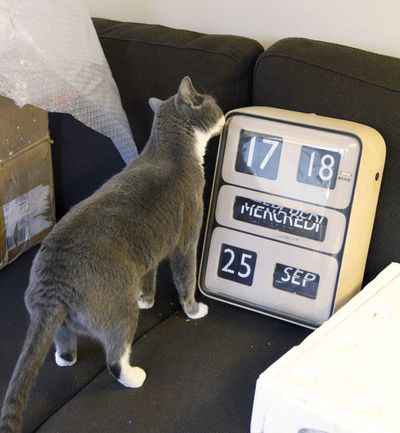
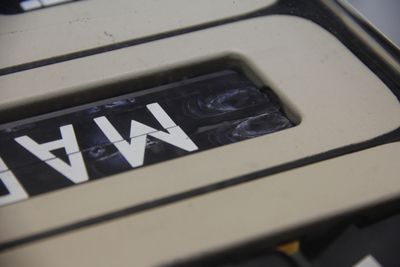
Even before opening it, evidence of water damage was visible.
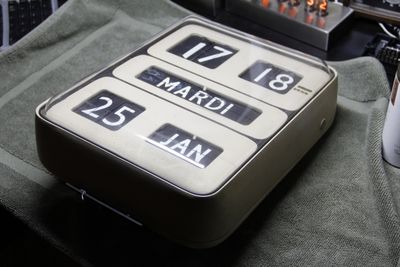
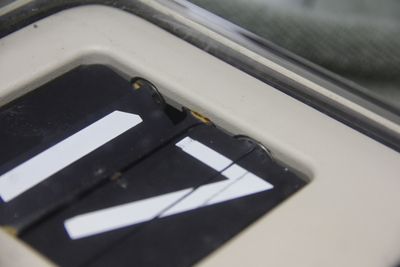
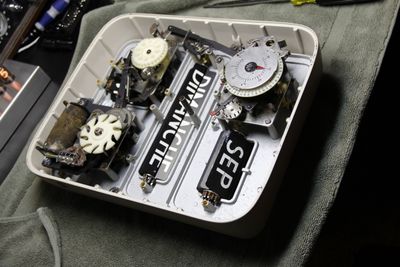
Removing the back cover revealed a rather sorry state.
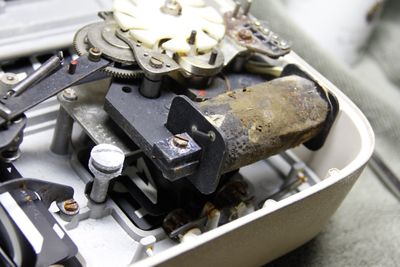
The worst of it was the torsion springs on the end of each flap.
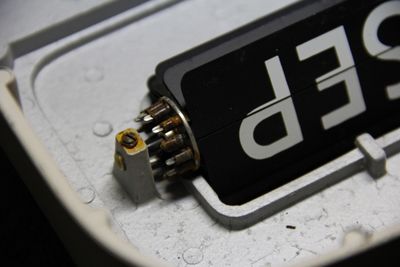
In the 5 series and other early models, Solari managed to achieve large numerals under a relatively shallow lens by using vertically-oriented flaps for each digit. Since gravity can’t assist them in falling, each one has its own torsion spring applying tension in the “advance” direction, and when they are not on display, they are held back by a bracket in the rear. It’s a clever but ludicrous design that generates an inordinate amount of wear.
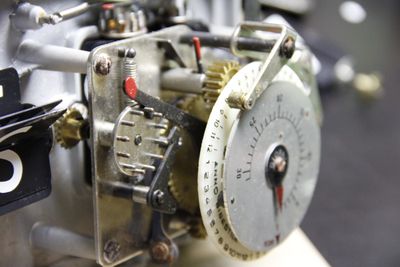
The brilliant perpetual calendar mechanism. The silver dial rotates once a month and indicates the date. There is a gap between 31 and 1 because the tens digit only advances when the ones digit flips from 9 to 0, so at the end of the month, the flaps must be driven past 32–39 and 0 before landing on 1 (see video below). For this reason – and to skip 29–31 for shorter months – the calendar is driven by a mainspring and governed by a flywheel, like a striking mechanism, so it can advance by varying amounts.
The white dial is marked with the month and rotates with the silver dial, only slightly faster so it offsets by one month each time around. A cam on this wheel determines the day on which the calendar resets, skipping 29, 30, and 31 as applicable. It tracks four years’ worth of months, so every fourth February can have a 29th.
Disassembly
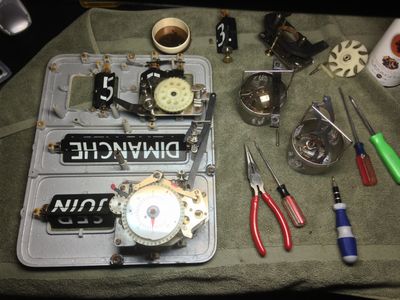
No turning back now.
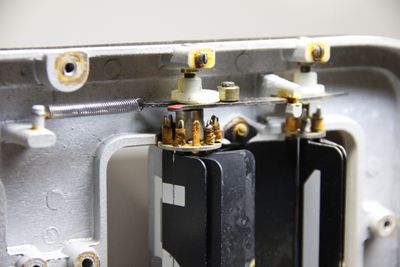
The flaps are mounted in spindles, which are themselves mounted in brass bushings set into the cast frame and secured with set screws — half of which were also rusted in.
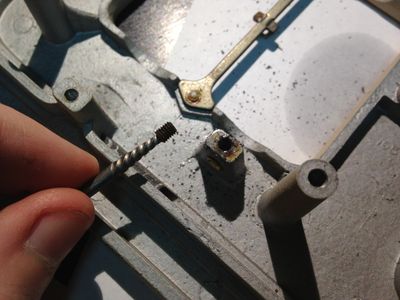
Fortunately these came out with a reverse-threaded screw extractor and a lot of patience and penetrating oil.
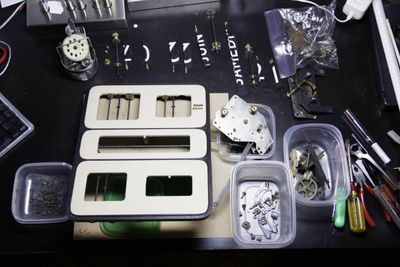
Flaps and spindles
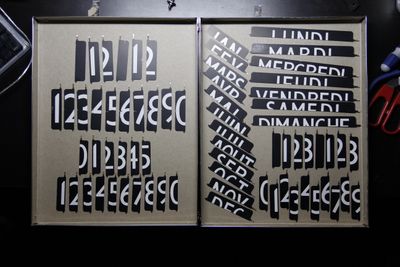
The flaps were in decent shape, apart from a bit of surface rust from behind the torsion springs, and some paint damage from wear and water damage – but perfectly legible. This one being a France-market clock, the weekdays and months are in French.
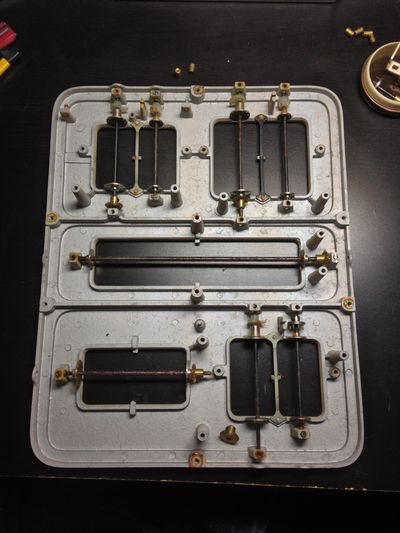
Before getting too far afield, I photographed the spindles in their original positions, without flaps, to help with reassembly.
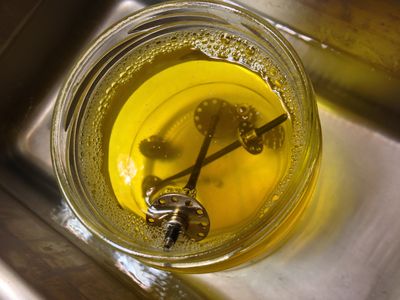
The spindles were cleaned in the ultrasonic machine.
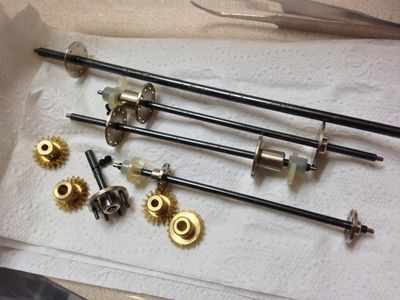
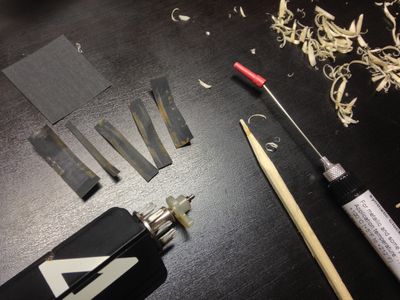
The spindles’ pivot holes (which hold the flaps) were cleaned and polished with pegwood and oil, and the pivots with very fine sandpaper.
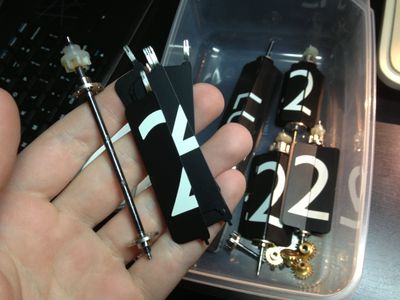
Gently bending the flaps is enough to remove and install them in their pivot holes. I just had to mind what order they go in, and ensure the ones-digit flaps are lined up with the plastic snail cam as they originally were, to ensure the tens-digit flaps advance at the right moment.
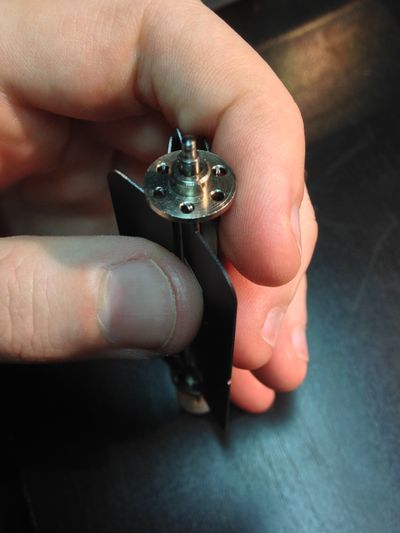
Flap springs
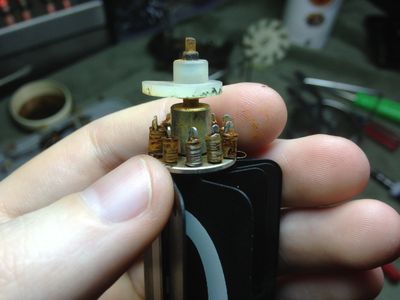
Of the 69 flaps in the clock (32 for time, 7 for weekday, 30 for calendar), all but three were completely rusted, so I would have to figure out how to make new ones.
I ordered some spring-tension 0.005”–diameter wire, expecting a little package with a spool, perhaps...
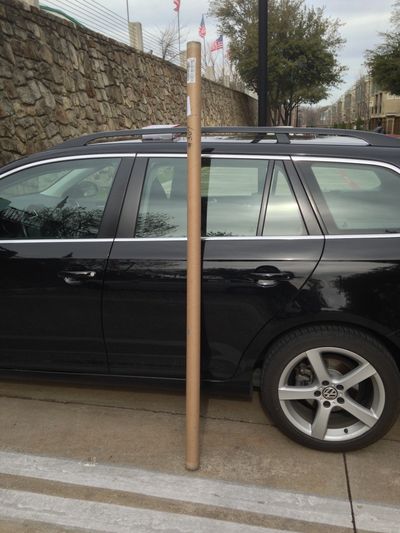
But of course, it would need to not be pre-bent, so it arrived in twelve 5-foot straight segments. I ended up using a bit more than 35 feet.
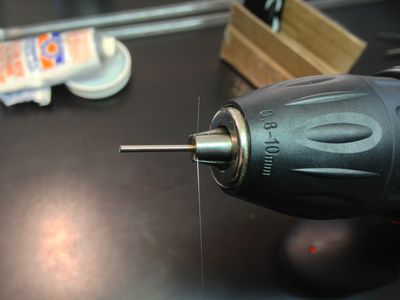
To wind the new springs, I hit on a method of chucking up a segment of wire in an electric drill and winding it around a drill bit with a plastic spudger at very low speed.
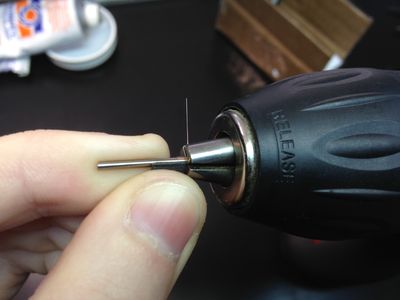
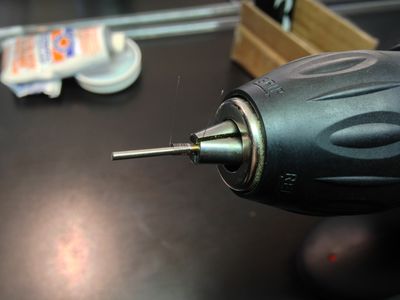
The first few didn’t go too well.
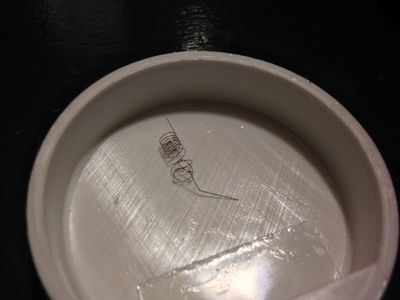
But soon – success!
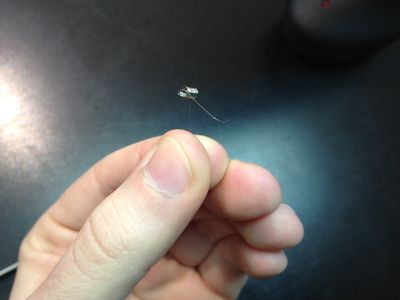
Seeing the first two torsion springs under test was a real turning point in the restoration process: already the clock seems to be itching to run.
That feeling was even more pronounced when rotating a completed spindle.
And even more so when pairs of digit spindles were installed in the clock with the ones-tens linkage between them.
This video also shows how the new torsion springs – not being as tidy a fit as the originals – are sealed in place with silicone adhesive sealant. For good measure, I also spread a thin layer of this sealant on the edge of the brackets that retain the flaps, in an effort to minimize further wear along the flaps’ edges.
Calendar mechanism
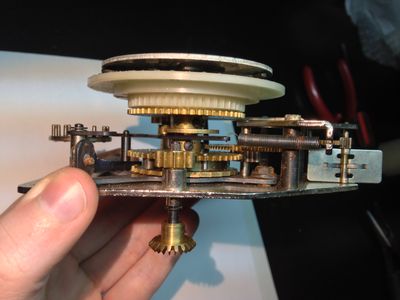
The calendar mechanism before disassembly and cleaning. This bit is as complicated as the average striking clock, so I took photos of every step to help with reassembly.
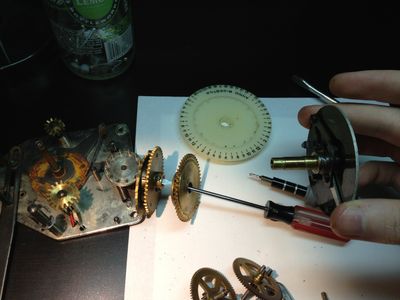
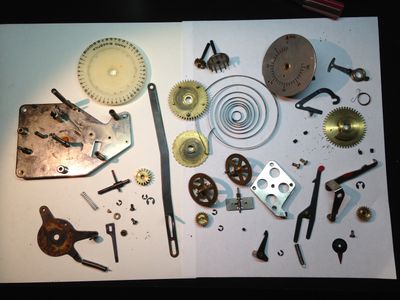
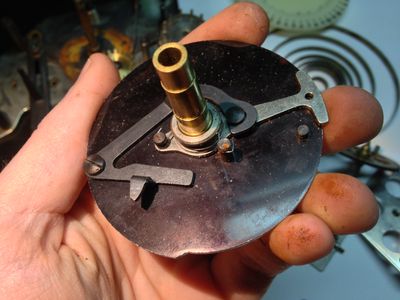
Disassembly reveals the lever arrangement on the back of the silver dial to make the calendar reset on different days depending on the month.
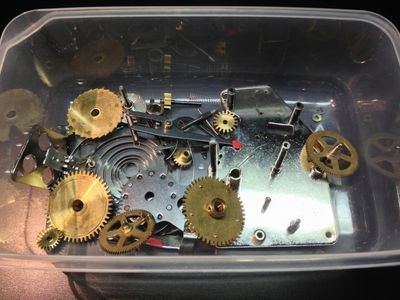
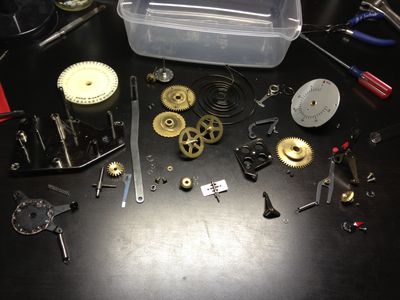
The cleaned calendar mechanism parts, rearranged as in the disassembly photos to help with reassembly.
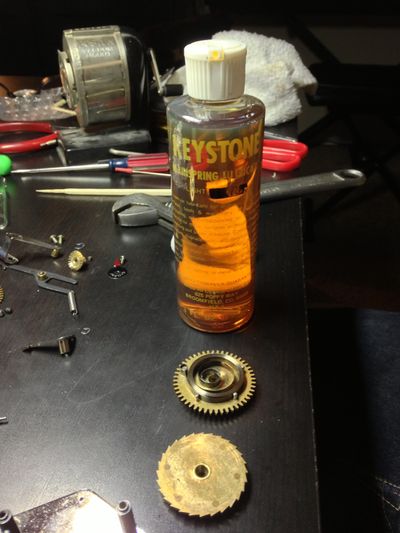
The mainspring is wound by a ratchet when the date is advanced, such that it winds and unwinds at roughly the same rate on average.
The rhythmic sound of the calendar resetting at the end of the month is almost musical.
Motor
This particular clock is an impulse model, with a Lavet-type stepping motor that requires alternating-polarity pulses through its coil each minute. Given its visual condition, I assumed the coil would be shot and need to be rewound – but to my surprise and gratification, after a little scrub with alcohol rinse and reinstallation in the cleaned motor, it worked right away.
With this, after reinstalling all the other cleaned parts, I was able to do a complete integrated test of a pulse driving the clock through a month end. Extremely satisfying.
Completion
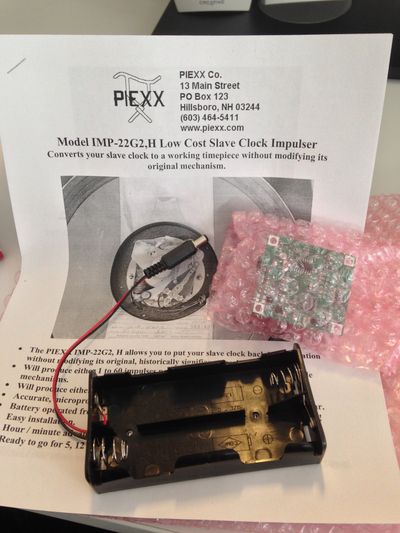
As I didn’t have a master clock at the time, I bought a PIEXX secondary clock driver. It is powered by 6VDC, which is stepped up to 6/12/24VDC and stored in a capacitor to provide the impulses for the clock. It provides lots of options for fine tuning, from timekeeping to pulse length.
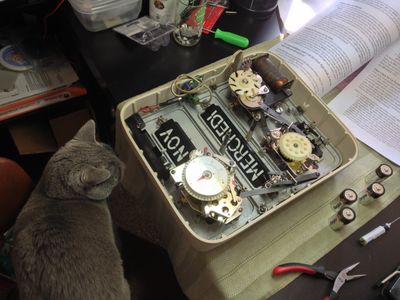
Final oiling and adjustments were completed under dispassionate feline supervision.
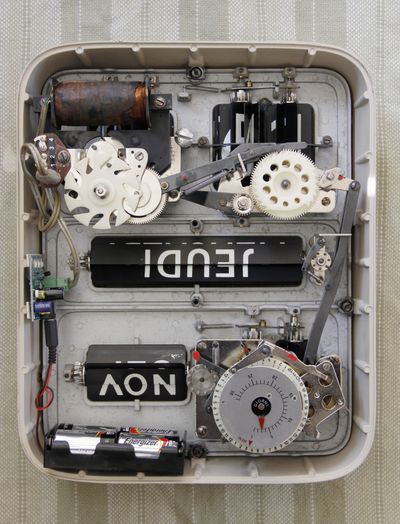
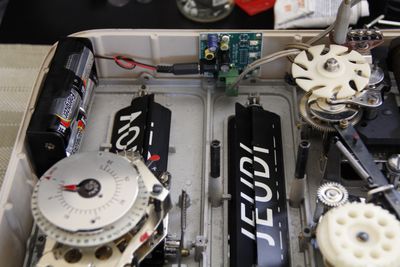
Once completed – thanks to the PIEXX’s thermocompensated quartz crystal, the efficiency of the Lavet stepper, and the perpetual calendar design – the Dator quickly proved itself to be my most reliable standalone clock.
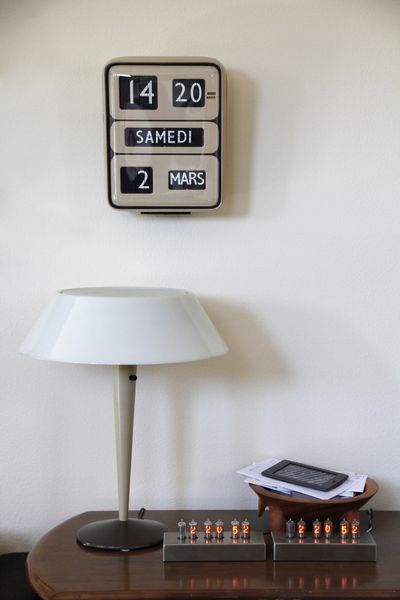
Solari clocks – and particularly the 5 series – are fickle things. Restoration is a project and a half; they wear needlessly quickly; they use dangerously strong spring tension; and they need a lot of fiddling to get them set up correctly (especially if you dared to loosen a set screw somewhere). So it’s hard to describe it as a sensible design.
But this clock proves that, once dialed in, they are robust and delightful feats of engineering, and will see to themselves for years to come.